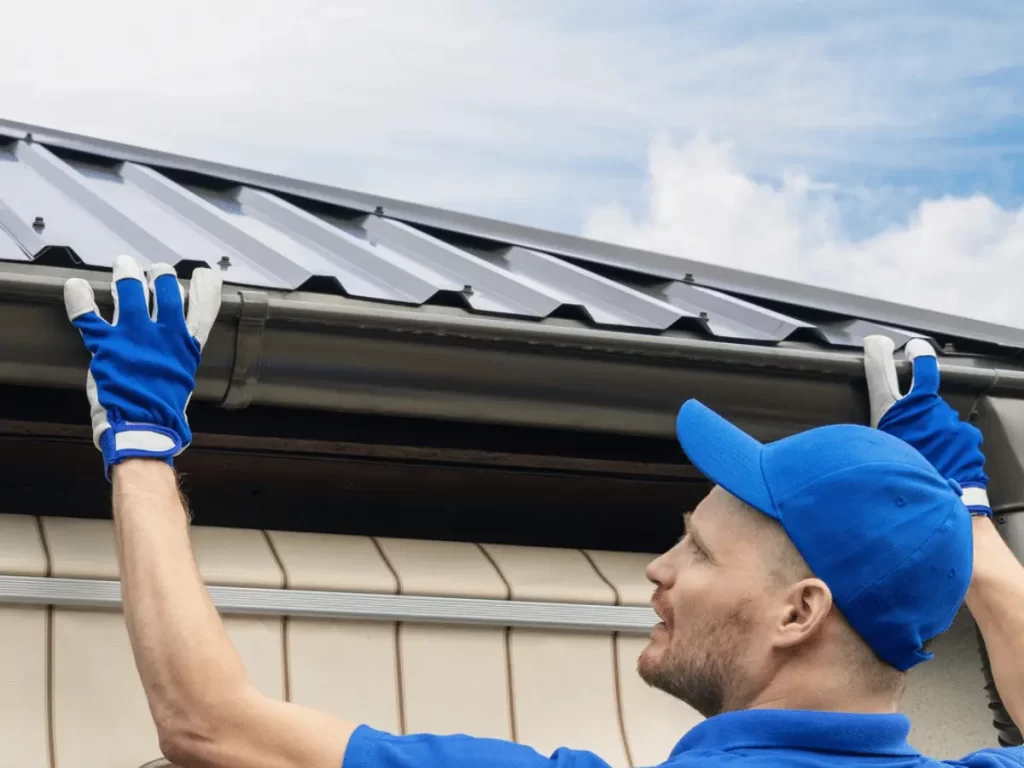
Are you thinking about taking down your gutters but feeling unsure? Many folks need help with this task. Removing gutters doesn’t have to be hard. This guide will show you how to remove gutters easily and safely. Ready to get started? Let’s go!

Why Do You Remove Gutters?
Sometimes, you might need to detach gutters due to specific issues like broken gutters or water damage. Addressing these problems promptly can prevent further damage to your home.
What You Need
First, gather the tools and safety gear. You’ll need a ladder, gloves, a screwdriver, pliers, a knife, a pry bar and goggles. Non-slip shoes are vital for safe footing on the ladder. Better safe than sorry! Having a helper is also wise for extra safety and aid. If you have a garden around your house, make sure to protect it from any falling debris during the gutter removal process.
How to Remove Gutters
Here are vital steps to help you remove gutters:
Step 1 – Inspect the Gutter System
Inspect the gutters for damage or weak spots. This helps avoid surprises during removal. Damaged areas can be tricky, so knowing them first is key. It’s like planning a route before a trip! Learn more about the gutter system
Identify the fasteners used, such as screws, nails, or brackets. Different fasteners need different tools and methods. Are you dealing with old nails or easy screws? Knowing this saves time and effort. Check where the gutters are joined to understand the points of attachment.
Step 2 – Clear the Gutters of Debris

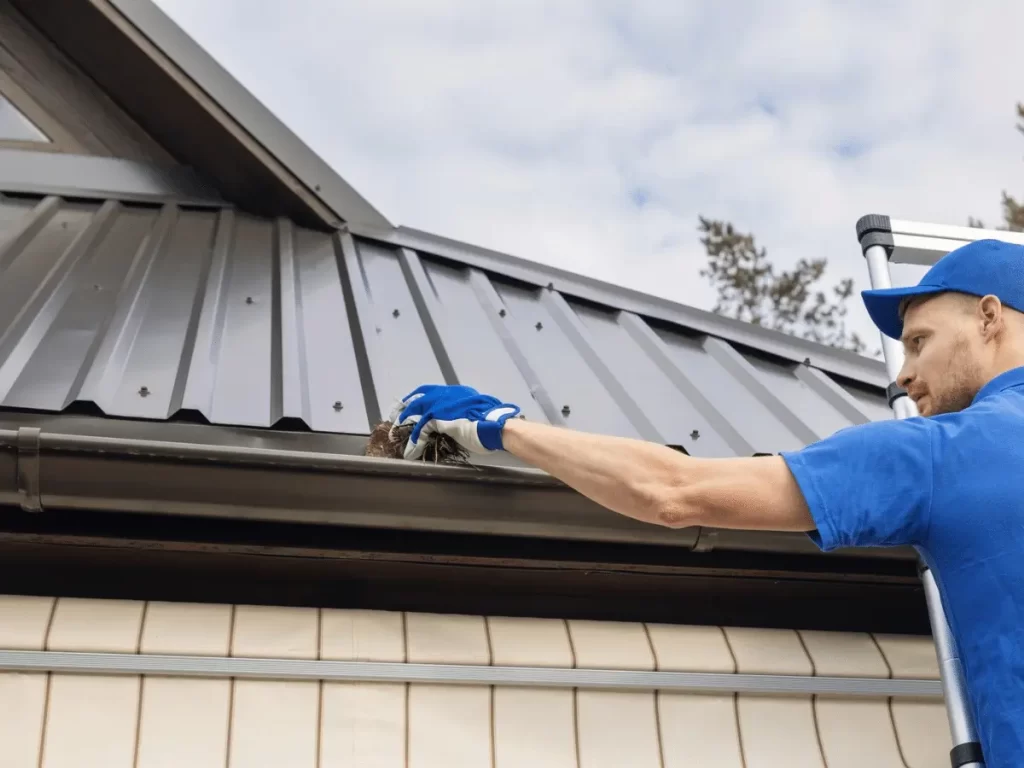
Use gloves to remove leaves, dirt, and debris. This not only stops the mess from falling as you take down the gutters.
Clean gutters also let you see hidden issues better. Also, cleaning gutters regularly helps extend their lifespan by preventing corrosion and clogs.
Rinse the gutters with a hose to ensure they are clean. A thorough rinse washes away smaller particles and dirt. Doesn’t it feel good to start with a clean slate? It makes removal smoother.
This step makes the process easier and less messy. It’s like prepping a room before you paint—essential for a neat job.
If you’re looking for a way to clean your gutters safely and efficiently without the need for a ladder, check out our guide on how to clean gutters from the ground without a ladder for step-by-step instructions.
Step 3 – Disconnect the Downspouts
Locate screws or brackets attaching the downspouts. These fasteners hold the downspouts securely. Can you spot them easily? Identifying these makes the next steps straightforward.
Use a screwdriver or drill to remove these fasteners. Handle the downspout gently to prevent bending or breaking. Where will you store it temporarily? Having a plan for setting it aside safely is important.
Taking your time with these steps ensures everything comes down smoothly. Each step builds on the last, making the process logical and manageable. Ready for the next stage? Let’s keep the momentum going!
Step 4 – Remove Gutter Fasteners

Start at one end of the gutter and work your way to the other. This ensures a systematic and organized removal. Use a screwdriver or drill to remove screws or nails holding the gutter in place.
These fasteners are crucial for the gutter’s stability. Can you feel the screws loosening? Removing them one by one makes the job manageable and safe.
If brackets are used, loosen them with pliers. Brackets can be tricky, so take your time. Pliers provide the grip and leverage needed to loosen them effectively. Carefully handle each section as you go along. This prevents damage to the gutter and your home.
Step 5 – Cut the Gutter into Sections
Use a saw or utility knife to cut the gutter into smaller sections. Smaller parts are easier to handle and discard, making the job simpler and less awkward. Clean cuts prevent jagged edges, which can be harmful.
Clean edges ensure safety and ease during handling. This step stops the gutter from bending or warping during removal, preventing damage to the gutter and your home.
Step 6 – Detach the Gutter from the Roof

Gently pull the gutter away from the fascia board. Apply minimal force to avoid damage. If it’s stuck, use a putty knife to pry it loose gently. A gentle touch prevents harm to both the gutter and the fascia.
Ensure each section is fully detached before moving on. This step-by-step approach keeps the process controlled and safe.
Step 7 – Lower the Gutter Sections Carefully
Slowly lower each section to the ground to prevent drops or damage. Have a helper assist in guiding and supporting the gutter as it comes down. Avoid dropping the parts to prevent ground damage or injury. Safety should always come first.
Step 8 – Inspect and Repair the Fascia Board
Check the fascia board for any damage or rot. It’s essential for a solid gutter foundation. If there is, please repair it before you install new gutters. A strong base means longer-lasting gutters. Inspect for any roofing damage as well during this process to ensure everything is in top condition.
Step 9 – Clean Up and Dispose of Old Gutters

Collect all removed gutter sections and fasteners. Keeping your workspace tidy is crucial. Properly dispose of or recycle the old materials. Clean the work area and ensure all debris is cleared. A clean space is a safe space. Don’t forget to also check the door and surrounding areas for any mess.
FAQ
Are Gutters Easy to Remove?
Removing gutters can be straightforward if you follow the right steps. It’s crucial to have the proper tools and safety gear. Working methodically from one end to the other helps avoid mistakes. Many homeowners find it manageable with basic DIY skills.
Can You Replace Gutters Yourself?
Yes, you can replace gutters yourself with some preparation. Make sure you understand the process and have the necessary tools. Watching tutorial videos can be very helpful.
If you need more guidance, many online guides show you how to replace guttering step by step. If the task feels too daunting, we can help you with this task, just give us a call and we will be happy to help.
